Guide
Starting Tomatoes Indoors: Light, Timing and Pricking Out
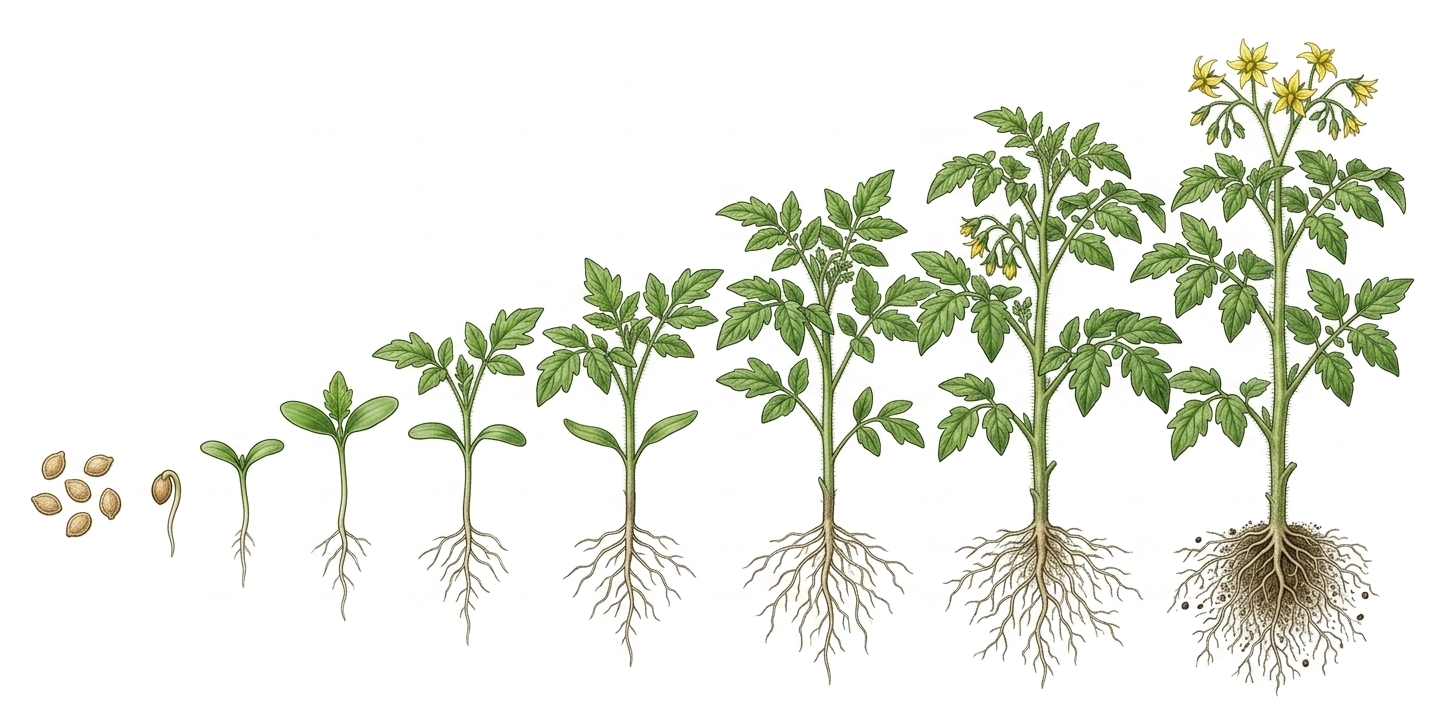
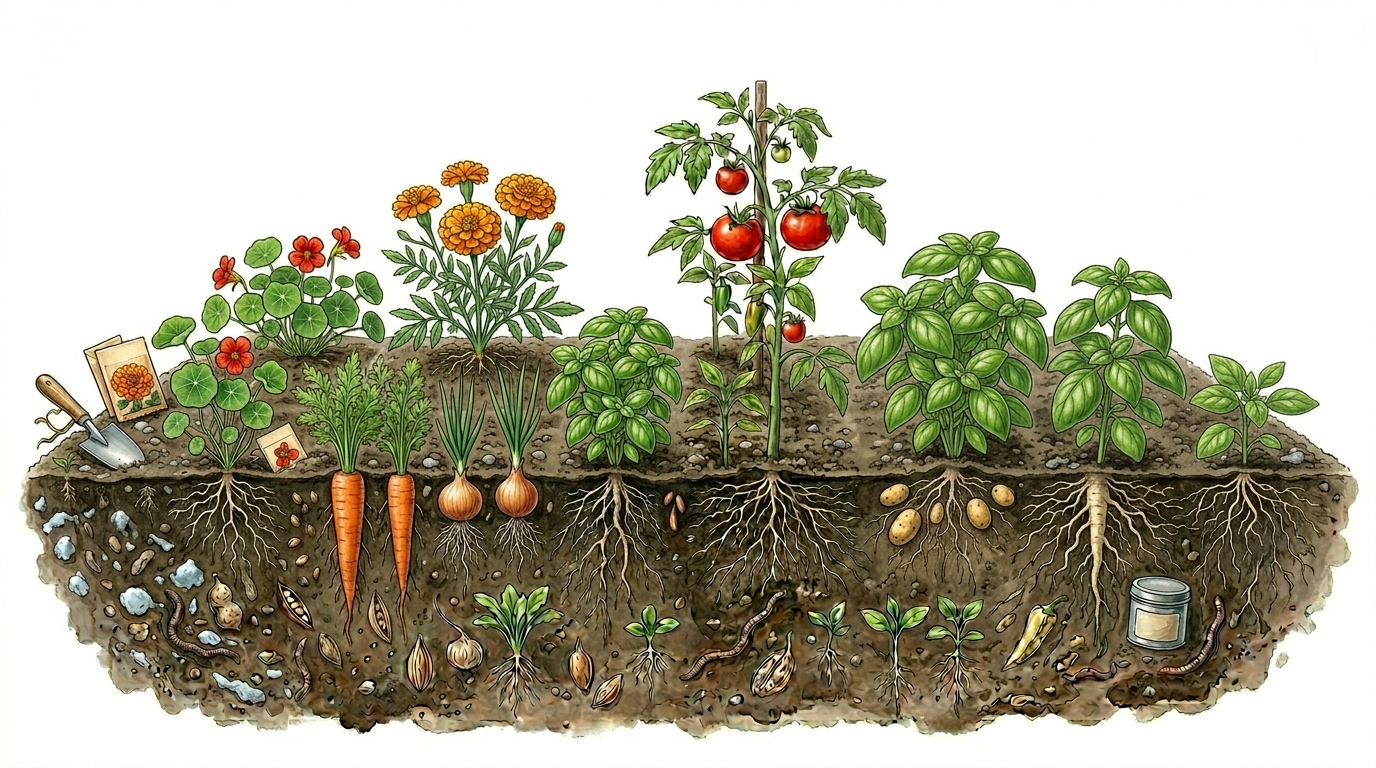
Starting tomatoes indoors gives you more variety, better control over growing conditions, and strong young plants for the gardening season. The key factors are good timing, steady warmth, plenty of light, and pricking out at the right stage.
The right timing
Tomatoes are usually started indoors from mid-March to early April. If you have a very bright growing space or grow lights, you can start a little earlier. Without extra light, sowing too early often leads to tall, weak seedlings.
- February: only useful with a very bright spot or grow lights
- March: the main and most reliable sowing month
- April: still possible, especially for fast-growing varieties
Temperature for germination and growth
Tomato seeds germinate best with steady warmth. During germination, about 20 to 24 °C is suitable. Once seedlings appear, they should be moved to a very bright and slightly cooler place to keep growth compact.
- Germination stage: keep warm and evenly moist
- After sprouting: move into strong light
- Avoid places that are both warm and dim
Light: the most important factor
After germination, tomatoes need as much light as possible. A south-facing window, bright conservatory, or suitable grow light helps produce short, sturdy young plants.
- Move seedlings into bright light as soon as they emerge
- Turn pots regularly so plants grow straight
- Long, pale green stems usually mean the spot is too dark
How to sow tomatoes step by step
- 1
Prepare the container
Fill seed trays or small pots with loose, low-nutrient seed-starting mix.
- 2
Sow the seeds
Place the seeds with some spacing and cover them lightly with soil.
- 3
Moisten gently
Water carefully so the seeds are not washed away.
- 4
Keep warm
Place the tray in a warm spot and keep the soil evenly moist but not wet.
- 5
Move to light after germination
Once seedlings appear, give them plenty of light and slightly cooler conditions.
Pricking out: when and how
Prick out tomato seedlings when the first true leaves appear after the seed leaves. At this stage, each plant needs its own pot and more room for roots and leaves.
- 1
Lift the seedlings
Carefully lift seedlings from the soil with a dibber, spoon, or similar tool.
- 2
Pot individually
Move each plant into its own pot filled with loose growing medium.
- 3
Plant deeper
Set tomatoes a little deeper so they can form extra roots along the stem.
- 4
Water in
Water gently and place the plants in bright light, but not immediately in harsh midday sun.
Care until planting out
Until planting out, young tomatoes need strong light, moderate moisture, and enough space. The soil should not dry out completely, but constantly wet pots weaken the roots.
- Water evenly but sparingly
- Move plants into larger pots when needed
- Start hardening off on mild days from April
- Plant outdoors permanently only after the last frosts
Common mistakes to avoid
- Sowing too early without extra light
- Keeping seedlings too warm after germination
- Waterlogging in seed trays
- Pricking out too late when seedlings are crowded
- Moving plants outdoors without hardening them off
Frequently asked questions
Can tomatoes be started indoors in February?
Yes, but only with very strong light or grow lights. Without extra light, March is usually the better time.
Why are my tomato seedlings tall and thin?
This is usually caused by too little light and too much warmth. Move the seedlings to a brighter place and keep them slightly cooler after germination.
When should tomato seedlings be pricked out?
Once the first true leaves appear after the seed leaves, tomatoes can be moved into individual pots.
Internal links
Related plants
Guides
Related guides
Guide
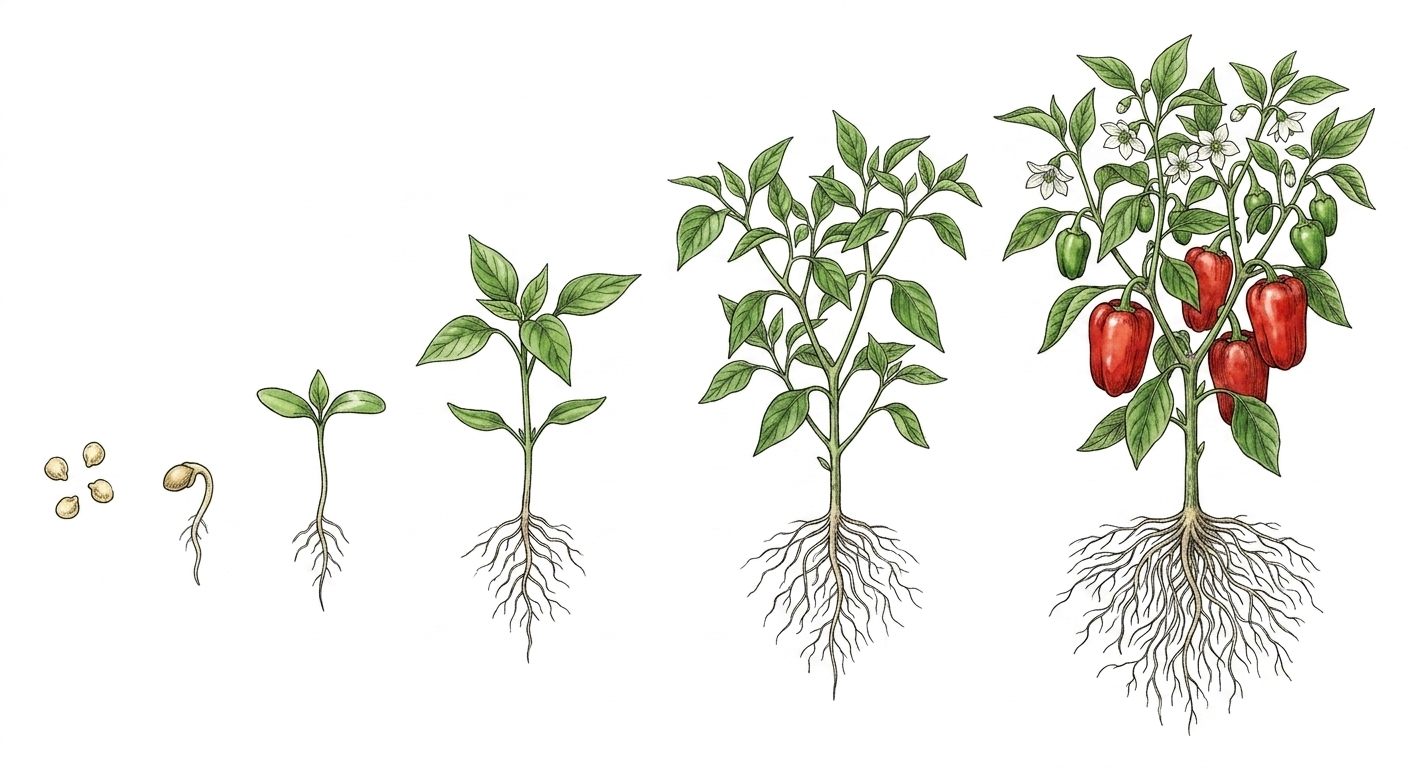
Starting Peppers and Chilies Indoors Successfully
Learn how to start peppers and chilies indoors with proper warmth, strong light, pricking out, and healthy seedling care.
Guide
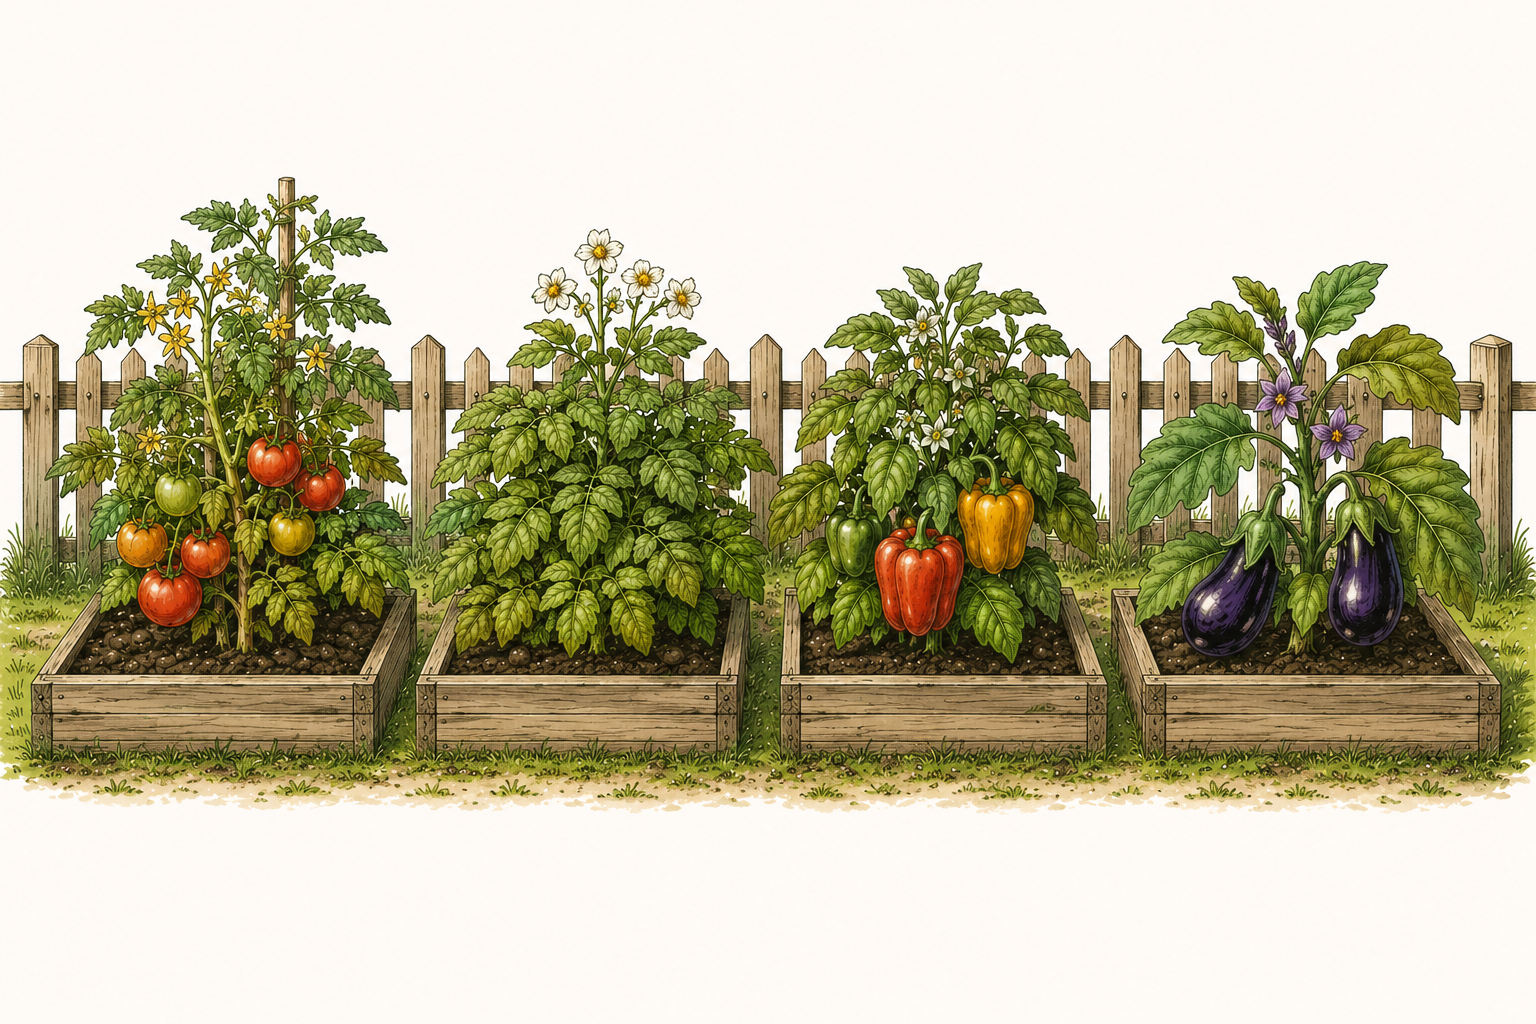
Pets and Nightshades: Tomatoes, Potatoes and More
Learn how to grow tomatoes, potatoes, peppers, and eggplants safely in pet-friendly gardens and understand plant-part risks.
Guide
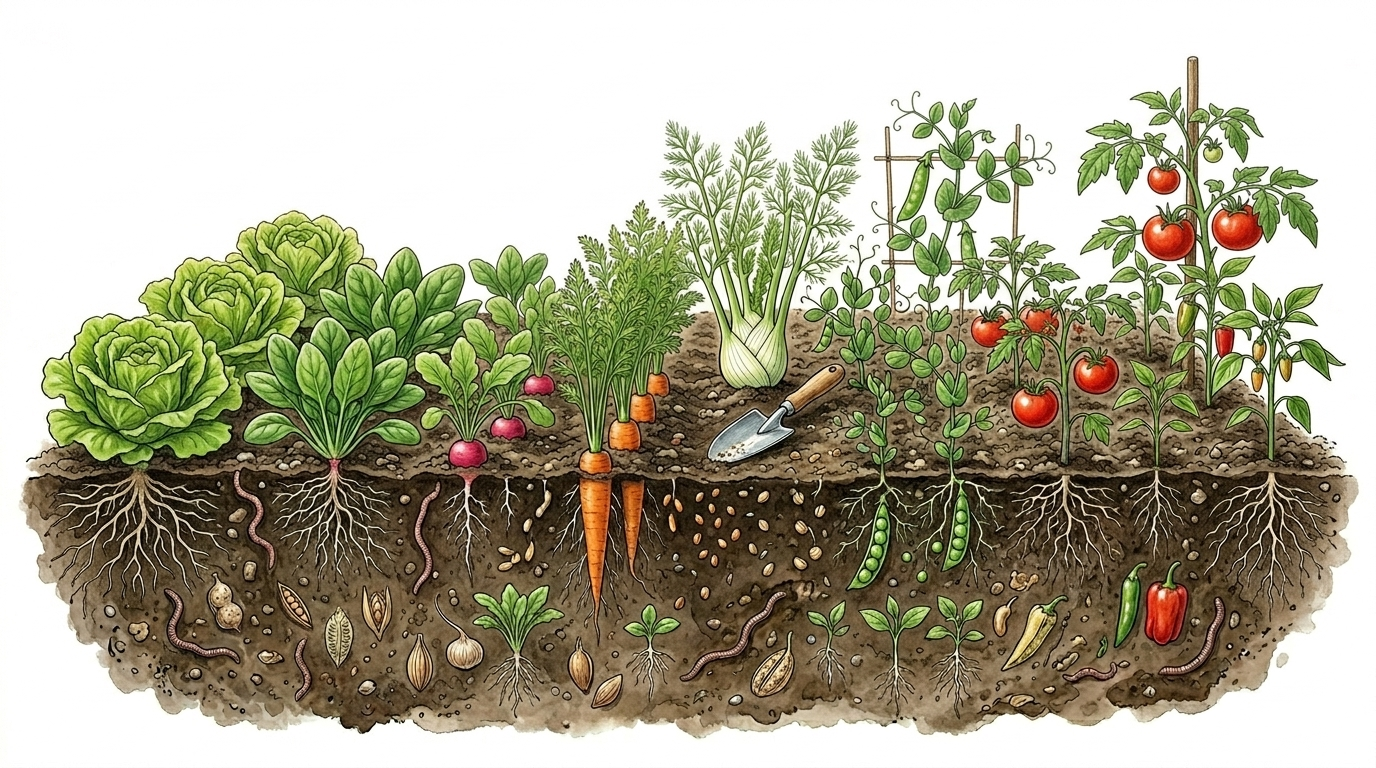
May Planting Calendar: Transplanting and Succession Sowing
What to plant and sow in May: transplant tender vegetables, continue succession sowing, and make the most of garden beds.
Guide
Companion Planting for Tomatoes: Good and Bad Neighbors
Learn which plants grow well with tomatoes, which neighbors to avoid, and how to plan productive mixed tomato beds.